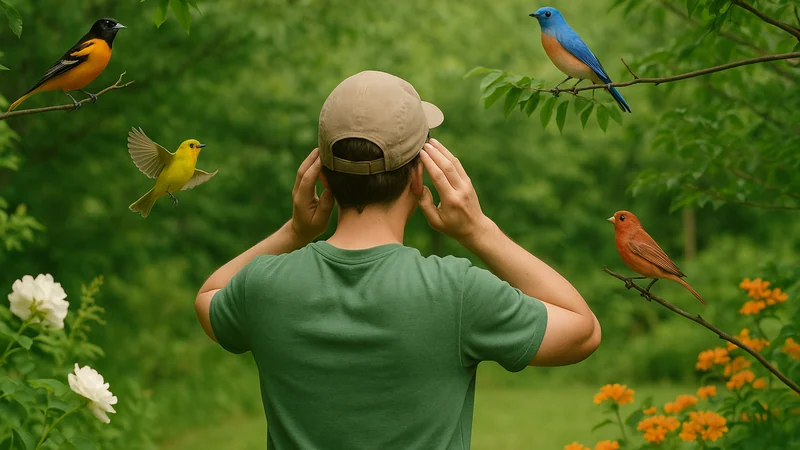
The signal worth paying attention to
Most people who search for a beginner birding app aren't lacking curiosity. They're missing one specific thing: a repeatable way to move from "there is a bird making noise near me" to "that is a house finch." Binoculars help, but only if the bird sits still, if you can find it in the frame, and if you already know which field marks matter. For a beginner, that's three ifs stacked on top of each other before the identification even starts.
The signal that matters is that birds give themselves away long before you can see them clearly. A song from a hedge, a chip note near a feeder, a silhouette on a wire, a photo you snapped and now can't parse. Each of those is enough evidence to start with, and they're the raw material a phone can actually work with. A modern birding app meets you at whichever clue you already have.
If you are the person standing in your yard wondering what that repeated whistle is, you are already birding. You just need a way to turn the noise into a name.
How to read the evidence
Beginner birders tend to assume identification is a visual puzzle. In practice it is a triage problem. You start with whatever clue is strongest and let it narrow the field before you reach for the next one.
A workable order for someone without binoculars looks like this:
- Sound first. If the bird is calling or singing, that is usually the highest-quality clue you can collect from a distance. Record a short clip on your phone and let a sound identifier suggest species candidates.
- Silhouette and behavior. Is it hopping on the ground or clinging to a trunk? Long tail or short? Alone or in a mixed group? These narrow things fast, even without color detail.
- Photo, even a bad one. A blurry phone photo of a bird on a branch still shows size, posture, and often beak shape. Photo tools can work with more than you think.
- Habitat and time of day. A duck-shaped bird on a suburban pond in April is a different candidate list than a duck-shaped bird on a coastal marsh in November.
- Description as a last resort. "Small, brown, streaky, at my feeder" is not nothing. A description-based lookup can narrow things when you have no recording and no photo.
The table below shows how each clue maps to the app input that tends to help most, and what to confirm before you settle on an answer.
| Clue you have | App input to try | What to confirm next |
|---|---|---|
| A call, song, or chirp you can hear | Record a short outdoor clip | Does the reference recording match the rhythm and pitch? |
| A photo, even a rough one | Upload or take a photo in the app | Do beak shape, posture, and size fit the suggestion? |
| Only a memory of what you saw | Search by a plain-language description | Does the habitat and range fit your location and season? |
| A repeated visitor at one spot | Save the sighting and revisit | Can you recognize the same bird again without help? |
The order matters because each step reduces the guesswork for the next one. Sound rules out entire families in seconds. Behavior rules out more. By the time you're looking at a candidate list, you're comparing four or five plausible birds, not four hundred.
A concrete example
Say you're standing in the driveway on a Saturday morning. You hear a clear, three-note whistle from a tree across the yard. You cannot see the bird. You do not own binoculars. Here is what that moment actually looks like when you work the evidence in order.
Step one, record. You pull out your iPhone, open Bird Call Identifier, and hit record for the length of two or three repeats of the whistle. You don't need a studio-quality clip. You need enough of the pattern that the app has something to match against.
Step two, read the suggestion. The app returns a species candidate, plus a reference photo and a short description. You compare what you're hearing to the reference call. If they line up, you have a working answer. If the reference sounds a little off, you note the candidate and keep listening.
Step three, sanity-check with context. You look at the range and habitat notes. Does this species show up in your region, in your kind of yard, at this time of year? A match that fits the sound and the geography is a stronger answer than a match that fits only the sound. If the whistle keeps coming back, a quick tour of the backyard calls people look up most can help you put a name to the regular before you ever open the app again.
Step four, save it. You add the sighting so the bird is now part of your own record. Next week, when you hear the same whistle, you will recognize it without needing the app at all. That is the quiet payoff: the app is training your ear while it answers your question.
The whole sequence takes under a minute. No optics, no notebook, no prior knowledge required.
Where certainty breaks down
An honest beginner guide has to say what a birding app cannot do, because the moments it struggles are the moments a new birder is most likely to give up.
- Overlapping voices. A dawn chorus with six species singing at once is genuinely hard. The app may suggest the loudest bird, or the one closest to the phone, and miss the quieter ones underneath.
- Mimics. A few species imitate other birds. If your recording is short, the suggested match may be the bird being imitated rather than the mimic doing the imitating.
- Poor recordings. Wind across the microphone, traffic, a lawnmower two houses over, or a bird too far away for the phone to pick up cleanly will all soften the confidence of any sound-based match.
- Look-alike species. Some birds are close cousins with nearly identical calls and near-identical plumage. In those cases, the honest answer from any tool is a shortlist, not a single name.
- Nighttime and migration surprises. Birds calling overhead at night, or unusual species passing through during migration, can produce answers that feel wrong because they are outside what you'd expect in your yard.
None of this makes the tool unreliable. It means the tool is a suggestion engine, not an oracle. No independent accuracy benchmark is claimed here, and the honest way to use any bird identifier is to treat a match as a strong lead you can confirm with one more piece of evidence: a second recording, a look at behavior, a check of what species are plausible in your area right now. If two independent clues agree, you have a confident ID. If they disagree, you have a mystery worth coming back to. If you plan to log the bird in a citizen-science database, double-check the match against a second clue before you submit it.
What to do with a shortlist
When the app returns two or three plausible species instead of one, resist the urge to pick the prettiest name. Open each candidate and compare the reference recordings side by side. Listen for the small differences: is the phrase rising or falling, is the rhythm even or uneven, does the bird repeat the same note or vary it. That comparison is the single most useful habit a new birder can build, and it works the same whether you're using an app or an old field guide.
How Bird Call Identifier can support the next check
Bird Call Identifier was built around the assumption that most people identifying birds today are not starting with optics. They are starting with a phone in their pocket and a bird making noise in a tree. In the maple-tree moment above, the sound recorder is doing the first pass of work; when a shortlist appears, the reference photo and species notes are what let you finish the check.
The same app also helps when you have a different clue. If you managed a rough photo instead of a recording, the photo input takes over the first pass. If you only remember what you saw, the description search gives you a starting shortlist to test against habitat and season. And saving each identification builds a personal reference you can lean on the next time the same bird turns up.
If you want a broader sense of how it fits alongside other options, this practical shortlist of beginner-friendly birding apps is a useful starting point.
Use the evidence in the real world
The best way to learn birds without binoculars is not to read another guide. It is to spend fifteen minutes in one spot, more than once, and let the same birds show up again. Your yard, a bench in a park, the corner of a trail near a parking lot. Any location that you can return to will teach you more than a new location every time.
A simple weekly routine that works for beginners:
- Pick one spot within five minutes of where you live.
- Visit it three times in a week, ideally at different times of day.
- Each visit, record the first two birds you hear that you cannot name.
- Identify each one and save the sighting.
- The next visit, try to name those same birds before you record.
Within a month, you will recognize the regulars by ear. Within two months, you will start noticing when something unfamiliar is mixed in with the usual voices, which is the moment you have crossed from looking up birds to actually birding.
Start the first visit now. Step outside, listen for one voice, and record ten clean seconds from your window or front step. That is enough material to begin learning the regulars around you.